

Adding contrast to photos in Lightroom can be done for a few reasons.
First, adding contrast can help a dull, RAW photo stand out and have more color and pop.
Secondly, adding contrast to your portraits can also add depth and visual interest to your work.
Who wants a lifeless photo anyway?
So, adding contrast in Lightroom is a simple and easy way to help your photos stand out and become beautiful works of art.
Scroll to the bottom for a video lesson of this edit.
Don’t overdo the editing
Easier said than done, but it’s always worth keeping a light hand when you’re adding contrast to your photos.
In fact, it’s one of my main rules for beginners learning how to edit photos more professionally.
Adding contrast is no exception.
It’s very easy to add too much and make a photo look overdone, so be mindful of your application.
Apply your general edits and exposure
I like to start my photo editing by applying a preset and then working off of that.
Sometimes presets can do a good job editing in 1-click, and other times, they need a bit more attention.
Since I want to add even more contrast to this photo, I also adjusted the exposure. I decreased it by -.60 to deepen the shadows and keep the face properly exposed.
Adjust the basic panel sliders for more contrast
To take it a step further, you can use the basic panel sliders to create more contrast and depth.
For nearly every single image that I edit, I also add in an appropriate amount of vibrance.
Adding vibrance increases the colors of the mid-tones without adding overall saturation; making it the perfect option for portrait editing.
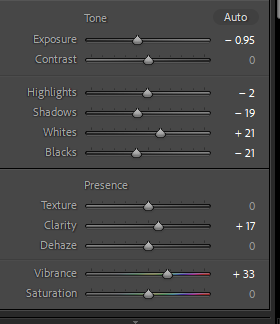
This is what the basic panel looks like after adjusting the main sliders. You might need more or less, depending on the photo you’re editing.
Use filters to enhance the contrast
Depending on the light situation and direction that it’s coming from, using graduated filters can really help add contrast.
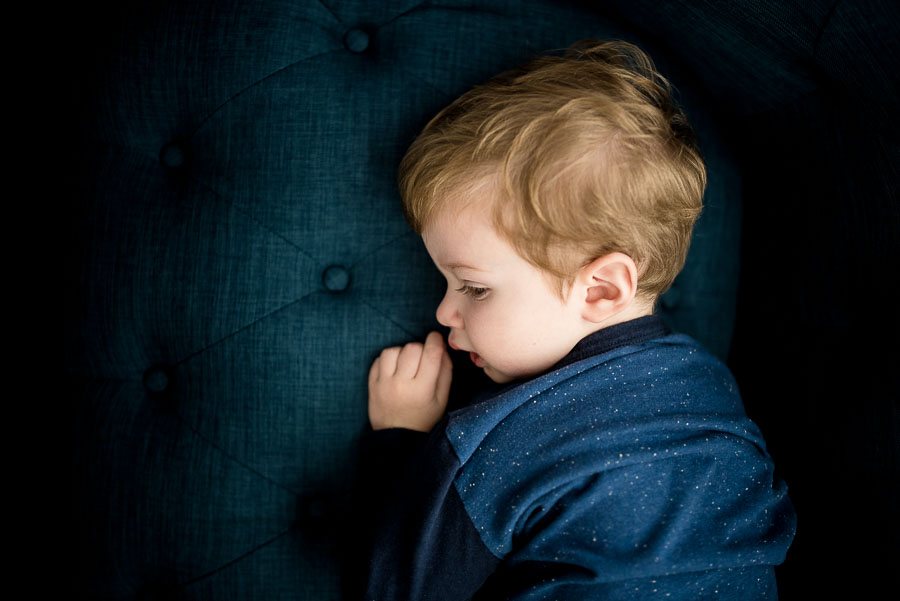
For this instance, decreasing the exposure on the left side of the photo will help with that.
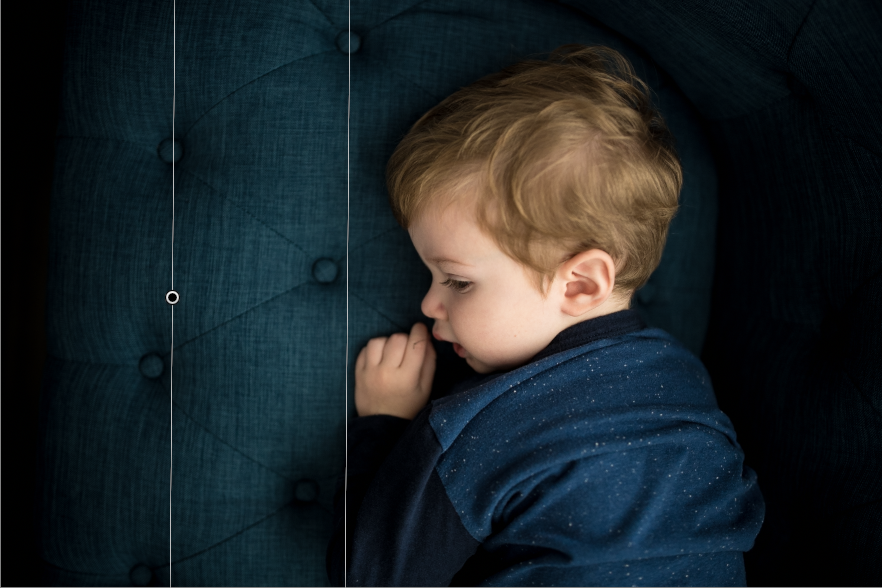
I made sure to only add the filter to the part of the couch and decreased the exposure by -.92
This added more darkness and contrast, which leads the viewers eye straight to the main subject (the little boy).
Apply lightroom brushes for selective contrast editing
Another tool that you can use in Lightroom are brushes.
A simple, yet effective way to add more contrast is by dodging and/or burning.
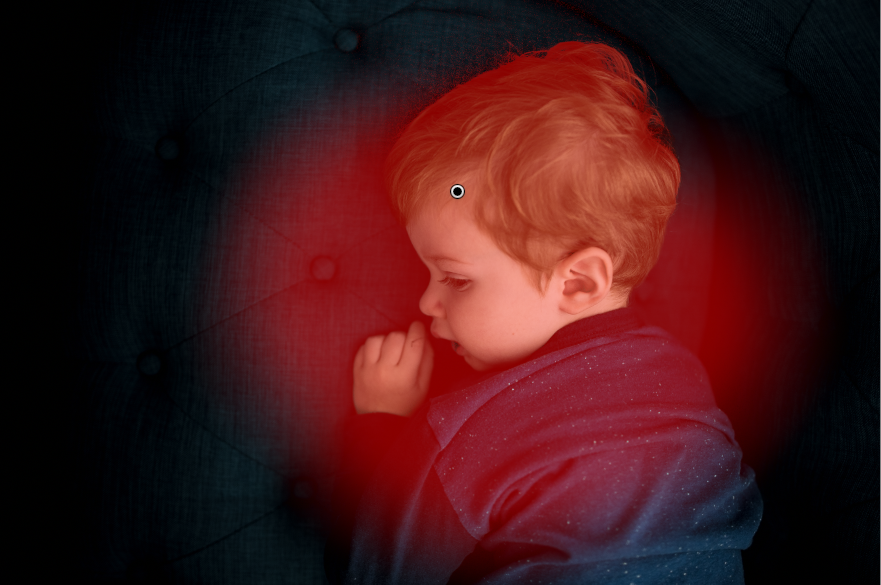
For this photo, I added a dodge brush (increase in exposure) over the child’s face and region to help enhance the light.
This makes the subject stand out more without over-doing it, but also adds even more contrast.
You can learn more about dodging and burning techniques here.
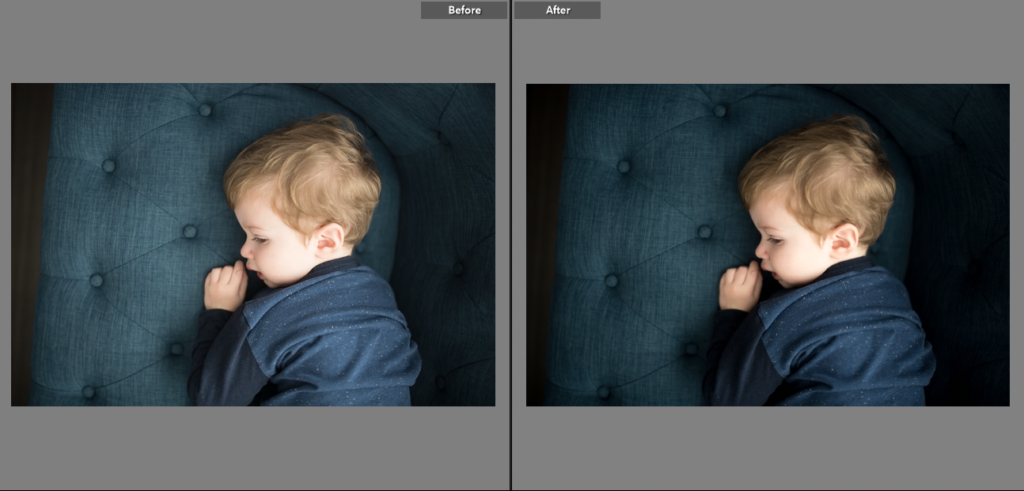
The final look
Just by adding a preset, adjusting the basic sliders, and adding contrast with filters and brushes, this photo looks completely different.
When done with intention, you can add contrast to your portraits pretty quick and easy (my preferred method!)
Are you ready to master Lightroom editing once and for all?
Learn the simple way to edit your photos without the confusion so that you can master the art of editing like a pro inside my signature editing course, Edit with Ease.
Inside Edit with Ease, you’ll learn how to:
- Setup your Lightroom interface to be the most efficient and FAST
- Create a catalog that makes things simple & EASY
- Organize and archive your photos in ways that will SIMPLIFY everything
- Edit like a PROFESSIONAL
and so much more!!!
Get instant access to over 32 lessons, advanced editing training, presets, templates, and more when you enroll today!
Learn more & sign up here


be the first to comment