

WHEN I FIRST DOVE INTO PHOTOGRAPHY, ONE OF THE FIRST THINGS I WANTED TO LEARN WAS HOW TO GET THOSE DREAMY BLURRY BACKGROUNDS.
You know what I am talking about.
When the main subject of a photograph is in focus and the rest seems to fade away into oblivion.
It was a clear indication for me at the time: more blur equaled more professional looking photos.
What is background blur?
It’s when the background of the photos aren’t in focus. The main focus of your image is crystal clear, but what’s in the background fades away.
This technique and style of photography helps distinguish what’s important to look at in the photo, in once simple glance.
A blurry background will help the viewer KNOW what the main focus of the image is.

How much blur is dependent on many factors. This blur, or “bokeh“, can be easily achieved with many types of cameras and lenses.
Why are blurry backgrounds important?
This is all completely subjective, but can be argued that blurry backgrounds in portraits are very important.
For one, it shows who is the main subject of the photo. Your eyes won’t be wondering around all over the photo trying to decide what’s relevant, the choice will be obvious.
Secondly (that goes along with the first point), is that the photo becomes less “busy”.
You see, the less you have in focus, the less work your eyes have to find the subject of the photo. When everything is clear and crisp, it’s hard to decide what’s important in the photo and what is not.
This is why you will find a lot of my work here on the blog has this look to it.
But, you don’t need to be a professional photographer or even have the best of the best gear.
You can create this look with just about any type of camera and lens and it’s pretty simple to do.
SO LET’S UNCOVER 4 WAYS TO GET THOSE DROOL-WORTHY BLURRY BACKGROUND PHOTOS.
1. APERTURE
Aperture is the camera setting that controls the area where the light can pass through the photo and is commonly known as “f-stop” in camera terms.
As counter-intuitive it may be, when the number of the f-stop gets larger, the amount of space that the light can pass through gets smaller. Not only does this effect exposure, but it effects the bokeh in an image as well (the background blur).
When shooting wide open, anywhere between f1.2-f2, you will notice a vast difference in background blur than you would in a higher aperture such as f8 – f16.
The wider your aperture is open, more blur will be present.The smaller your aperture is, less blur will be present.
Aperture selection is not only a technical aspect of photography, but can also be considered a creative aspect as well.
2. FOCAL LENGTH
Bigger is better – in terms of focal length and trying to attain blurry backgrounds that is.
Focal length can be used to describe the length of your lens in relation to the angle of view, how much of the scene that will be captured, and the magnification overall.
The longer the focal length, the more depth you will create in your photos and less of the scene will be in view. The shorter the focal length, the less depth you will create but more of the scene in view.

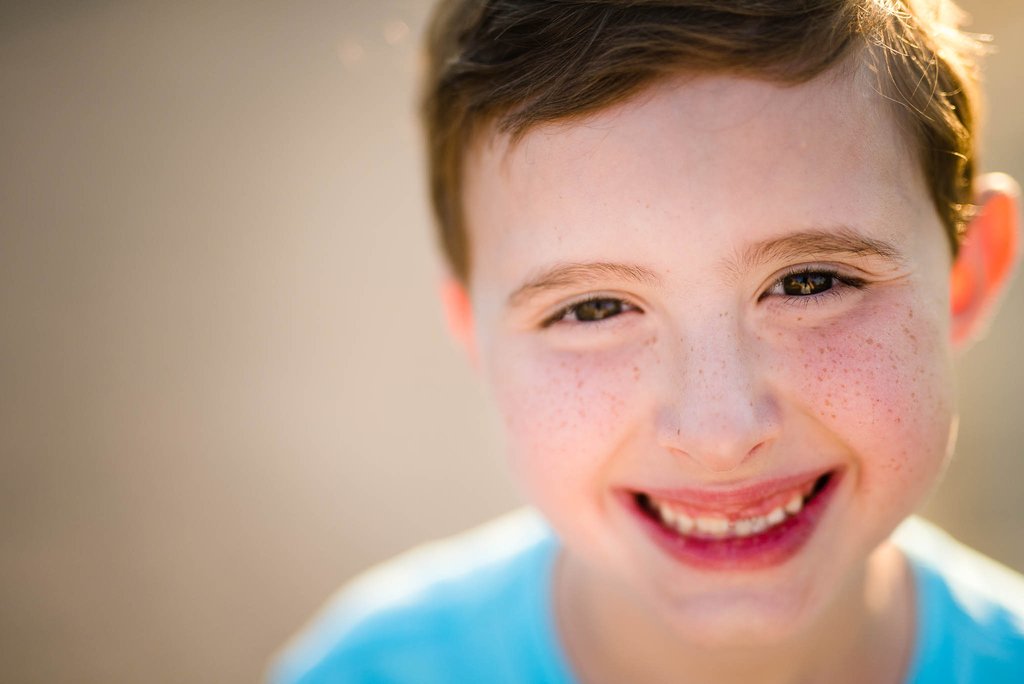
This photo was shot with this 50mm lens. Since it was a closer head shot, a lot of the background became blurred.
When aiming to create blurry backgrounds in your photos, choosing a longer focal length will give you more opportunity to achieve it.
For example, it’s harder to get blurry backgrounds with 35mm lens than it would be with a 135mm lens – simply because of the focal length and the way these lenses are designed to capture the scene.
3. DISTANCE
Even if you don’t own a lens with a long focal length, you can still get those dreamy backgrounds you crave with proper subject placement!
By simply moving your subject further away from the background, you will create more in-camera distance that will result in background blur.

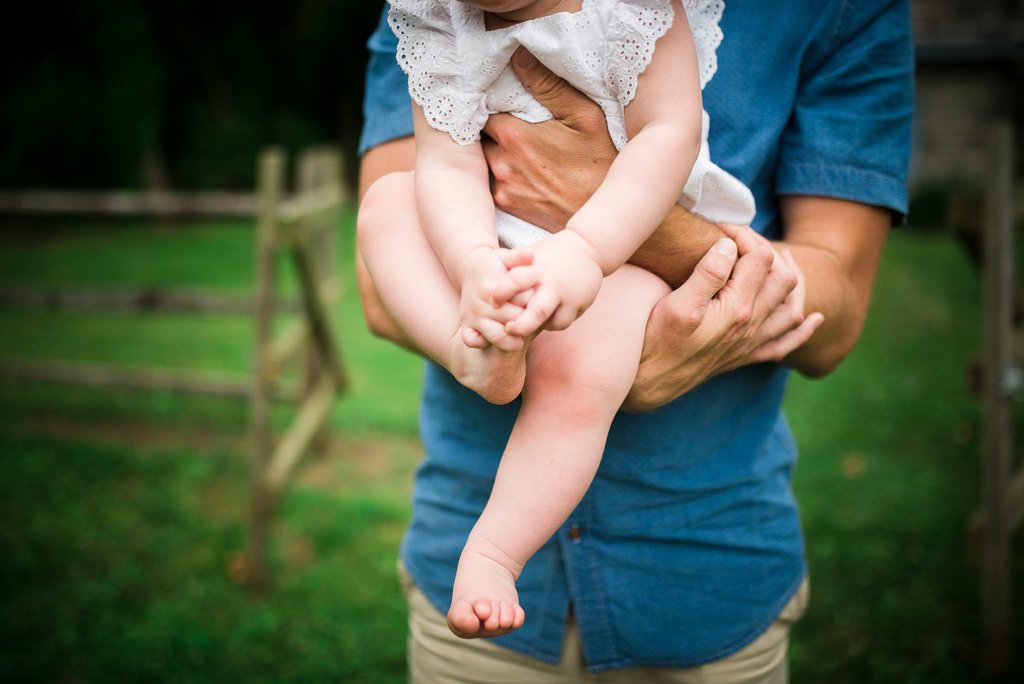
Even though a 35mm lens was used, a lot of blur occurred because the main subjects were moved far away from the background.
You’ll also find that the closer you move in towards your subject (a head shot for instance), you’ll create even more blur to your background.

In these images, even more blurring occurred after moving in closer to the subjects. I didn’t move my subjects, I simply moved in closer to them to create more blur in the background.
Playing around with distance in terms of yourself and your subject is a simple way to get a more blurred background with any lens that you shoot with!
4. POST PROCESSING
If you’ve found that you haven’t achieved the desired amount of blur in your backgrounds just in camera, there are ways you can enhance this in your editing and post-processing.
Experimenting with various blur filters in Photoshop can be fun & help achieve your desired look, but perfection comes at a practiced hand.
There’s also a simple way to blur the background in Lightroom with filters and brushes.
Just grab a brush, turn the clarity way down, and brush over the area that you want to blur.
Rinse and repeat by adding new brush strokes or filters until you get the look that you desire.
Although it’s preferable to get the blur in-camera, you can rely on your post-processing skills to achieve this look as well!
All-in-all, my favorite ways to attain the dreamy look of a blurred background are in camera with the right lenses (click here to see my favorites), aperture, and subject placement.
If you liked these tips, you may also enjoy these articles:
Take better portraits & learn how to get creamy skin tones.
Learn how to get blurry backgrounds in your images.
How to interact & photograph shy kids + download the FREE posing guide.
Make more money with your photography: How I made $2,800 with 1 model call
New to photo editing? Photo editing tips for beginners
Try something new: Moody portraits, 4 ways to easily take them indoors


be the first to comment