

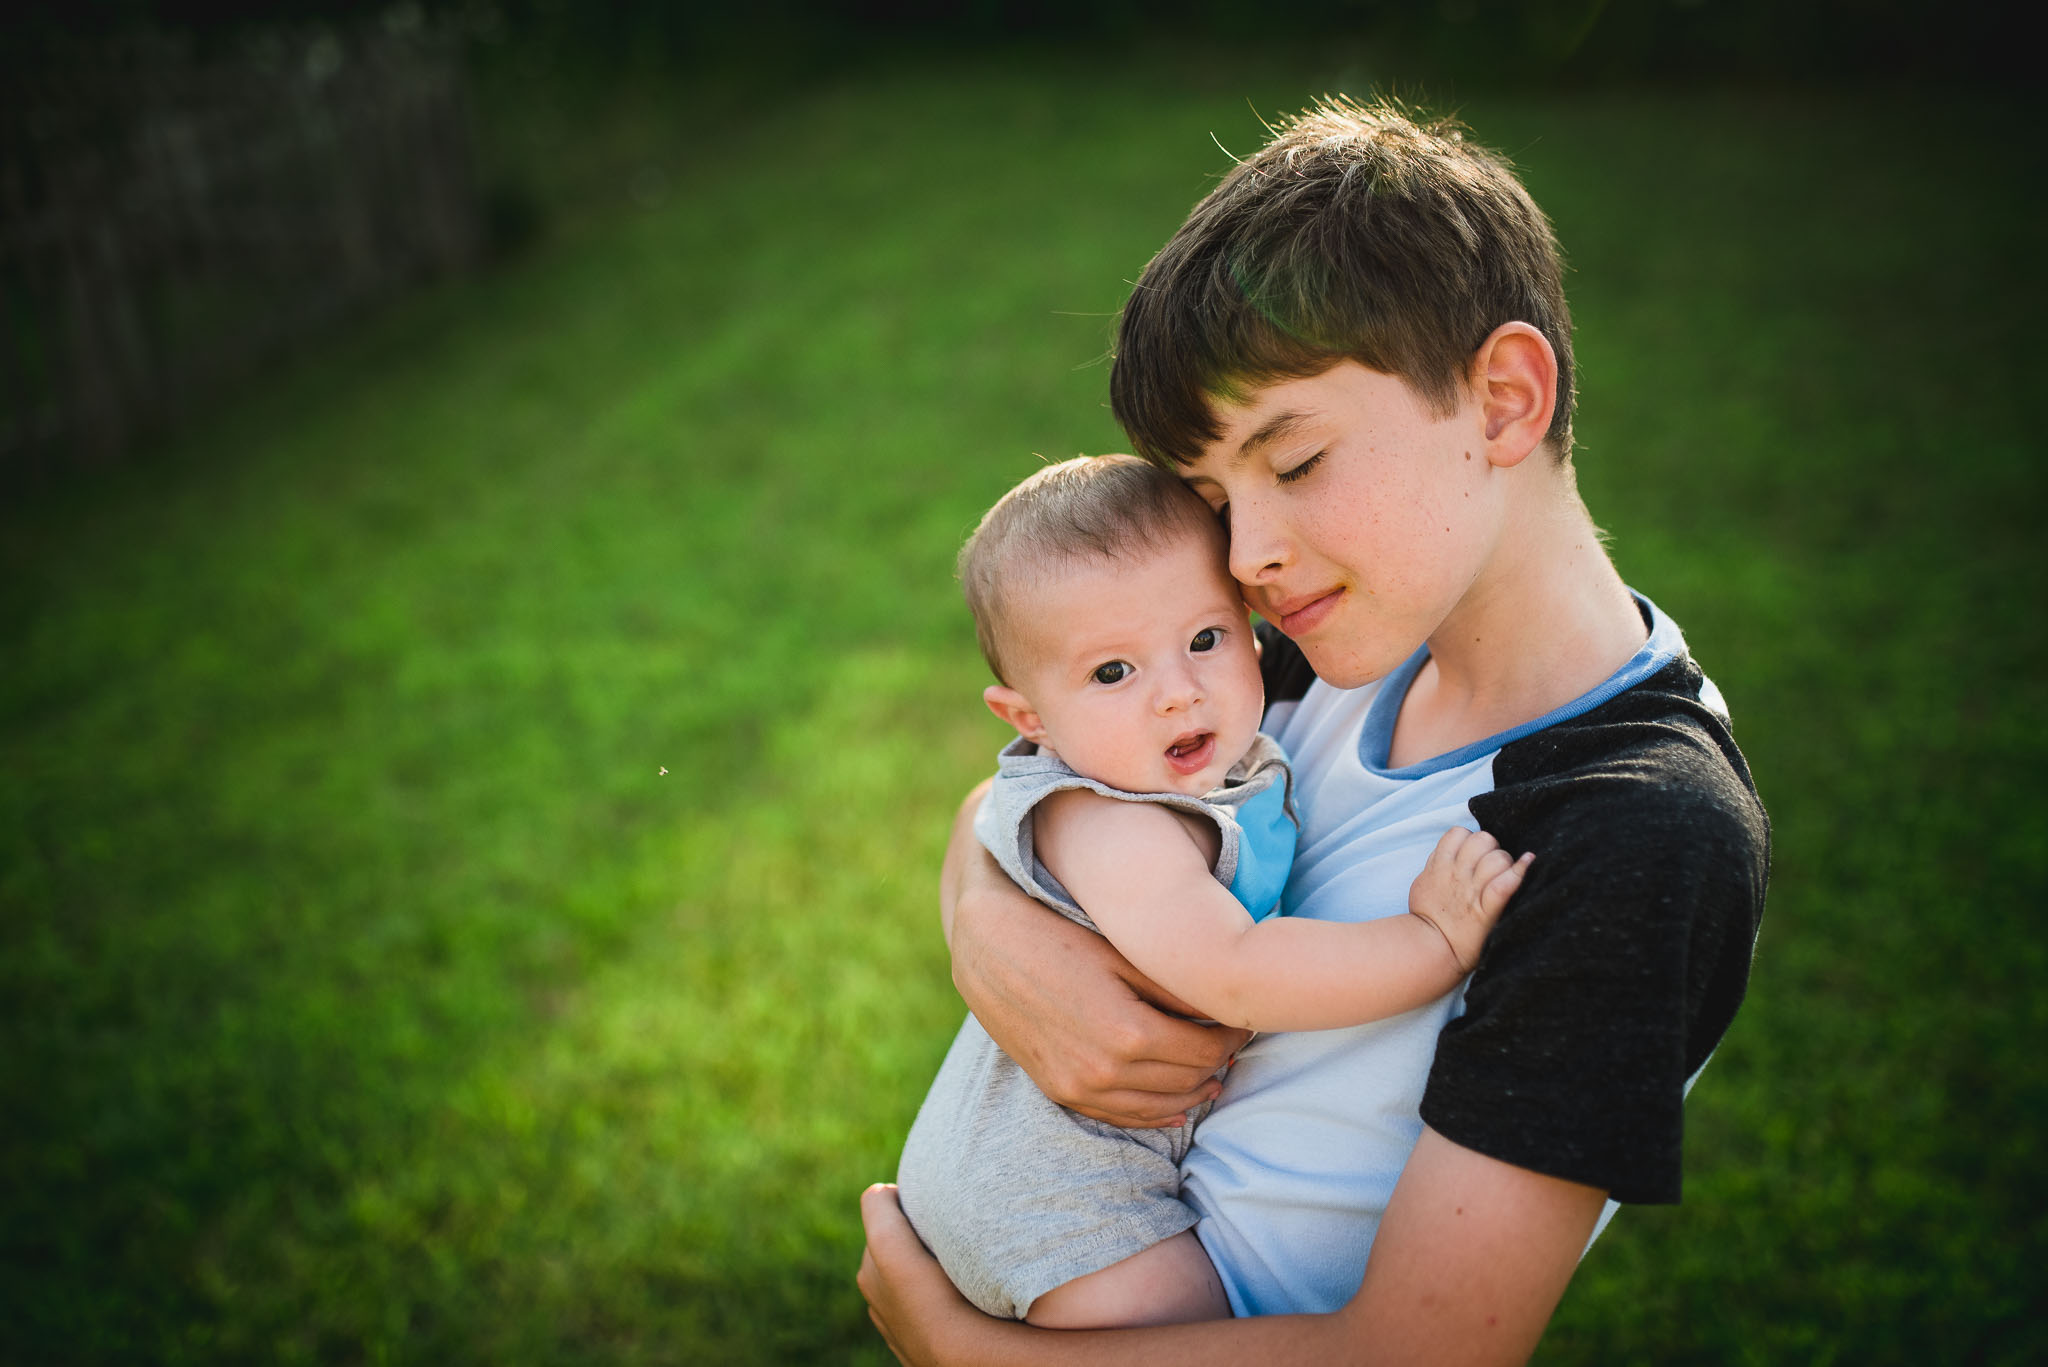
Spring is coming and with it along comes the spring green grass.
While I absolutely invite this change of color after a solemn and depressing winter season, I can’t deny how cringe-worthy green grass can be in photos.
Spring greens are just their own thing. They are so vibrant and colorful, but often lead to unnatural looking tones in your photos.
But, there’s an easy way to offset this in your editing – and even easier when you use Lightroom!
In this step-by-step Lightroom tutorial, I am going to walk you through the entire process of getting perfect greens.
Scroll down for the written version or just watch the video tutorial below!
Step 1: Apply your base edits
Whenever I edit photos in Lightroom, I always start with the basics.
This includes sharpening, exposure, white balance, and basic panel adjustments.
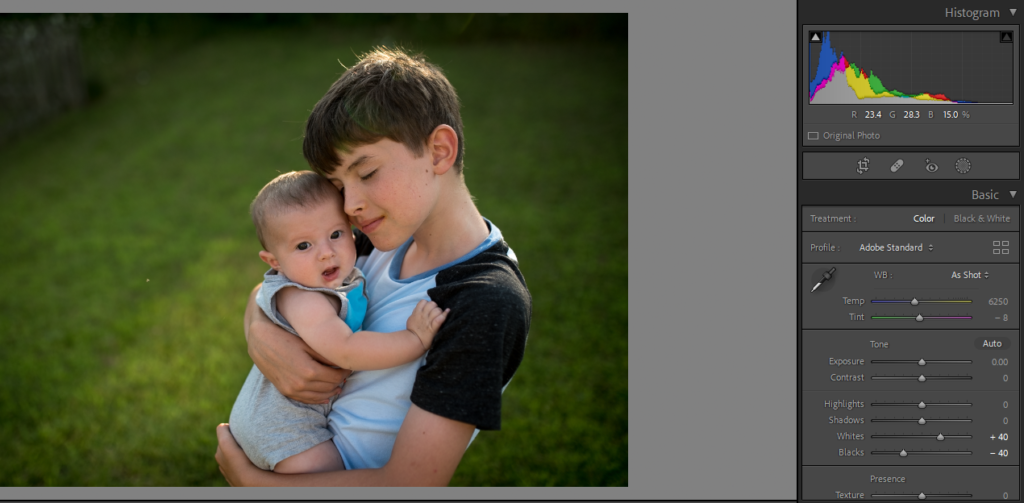
These might need to be adjusted later on, but it’s a nice starting point when you start off your editing process.
To speed up the process even more, I like to use my workflow adjustment presets to quickly apply these changes.
Step 2: Apply a preset or your main edit
After your initial edits have been made, now you can move on to your main edits.
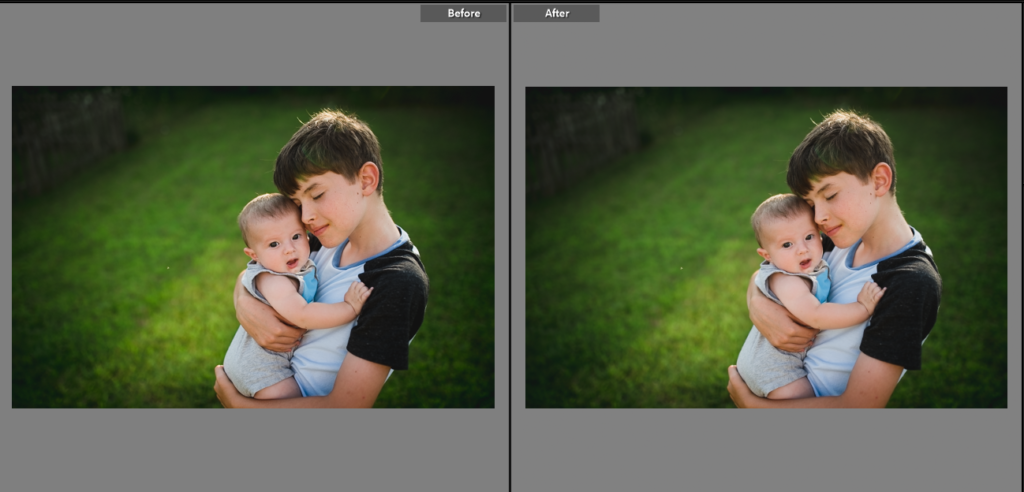
For this photo, I applied ‘Dazzlin” and “center light” from my Life in Color preset collection. Using this preset collection on the majority of my photos helps me speed up my editing process AND stay consistent with my editing style.
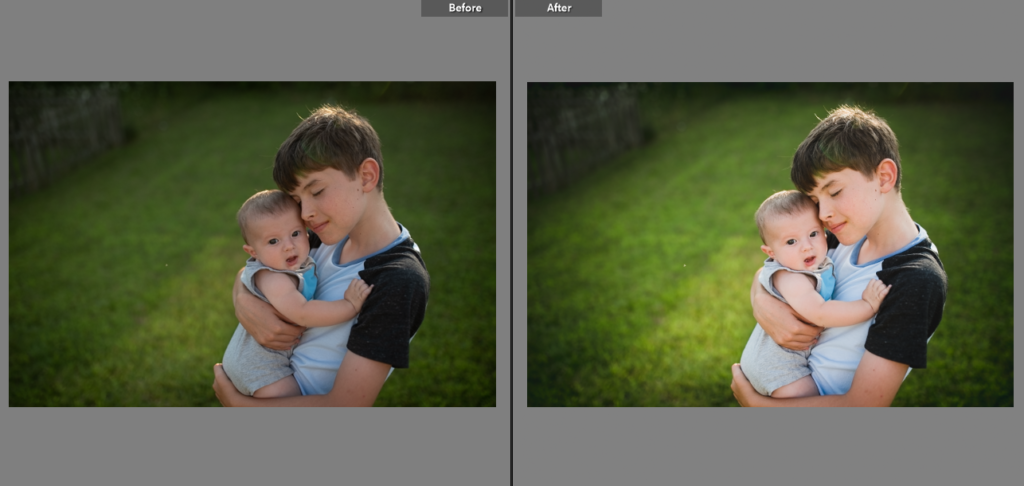
This quickly amplified the color and added a bit more light to my subjects, helping them to stand out in the photo.
But, there’s just one problem: the greens in the grass are looking a bit bright & yellow – so let’s work on that next.
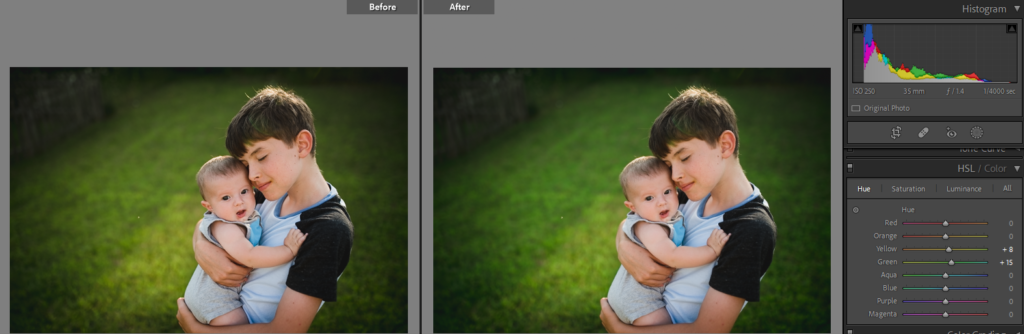
Step 3: Adjust the greens
Now that we’ve got the basics out of the way, it’s time to start working on those crazy greens!
In your HSL panel, start with the Hue sliders.
Since these greens a bit yellow, we need to increase the green tones in the yellows AND the greens.
Here I increased the yellow slider to +8 and the green slider to +15. Notice the difference???
Next up is the Saturation slider.
This is personal preference, but since the color of the greens are still a bit bright, I am going to take out some of the saturation to calm things down.
For this photo, I adjusted the saturation of the yellows to -5 and the greens -10.
It’s a small, subtle difference, but it helps to take the edge off and will be more pleasing to the eye once printed.
Lastly, you can also adjust the luminance of the photo if it’s needed.
This slider basically adds or reduces light from a specific color in the photo.
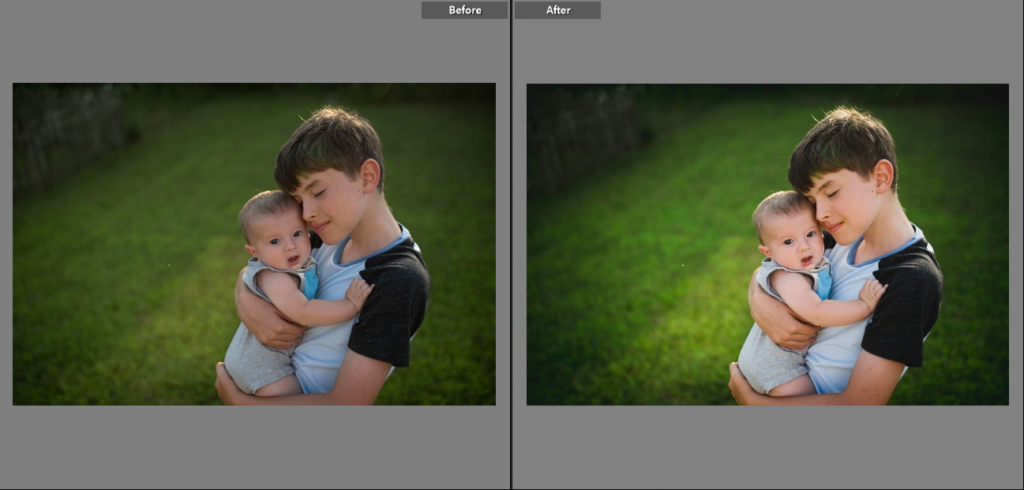
Since the saturation sliders made the photo look a bit more dull for my liking, I added +15 yellow luminance and +40 to the greens.
This simply added a bit more light and contrast without adjusting the saturation of colors themselves.

Again, a very subtle change, but makes the image pop with color a bit more without it being ‘too much.’
The use of presets & some quick hand edits helped make this photo pop and polished.
So now that you know how to adjust your greens in Lightroom, I hope this makes your editing process a bit easier & quicker overall!
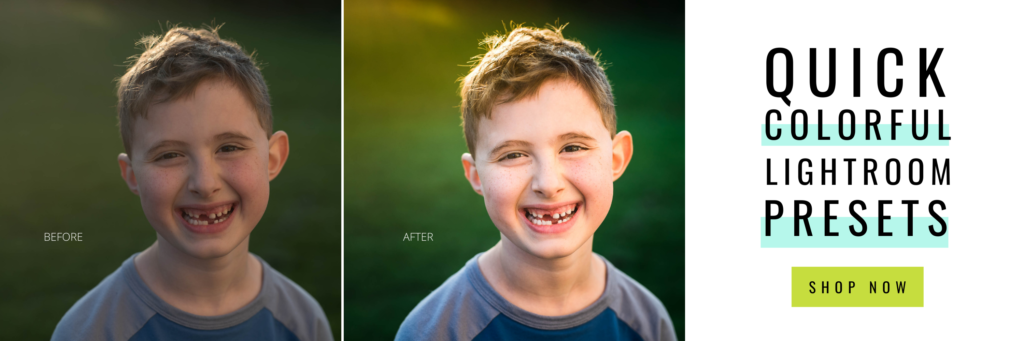
Want to become even more creative with your Lightroom editing? Get quick results with the help of our Lightroom Presets.
These presets were created to bring out color, vibrancy, and extra flare while still retaining color-balanced skin tones INSTANTLY.
Which set of presets will suit your individual style?
If you found these tips helpful, here are some more resources that you might enjoy:
New to Lightroom presets? Get started with this step-by-step guide and download this FREE starter pack.
What’s your editing style? Here are 5 Lightroom editing styles that you can easily replicate.
Getting started with Lightroom: These are the best import settings that you should be choosing.


be the first to comment