

Tips for magical bubble photos with kids
As far as photos with kids goes, using bubbles to bring out the magic at a photo session is pretty simple.
Not only is it a fun activity for the kids during a photo session, it’s a great way for kids to open up and be themselves even if they are shy and have a hard time opening up for the camera.
Read next: 6 ways to photograph shy kids to get the best results
Plus, bubbles are just fun all around and they make for awesome and beautiful photos. Who doesn’t love them?!
What you need to take bubble photos
Obviously you will need bubbles to take bubble photos with kids. But, having the right kind of bubbles and the best way to output them is essential.
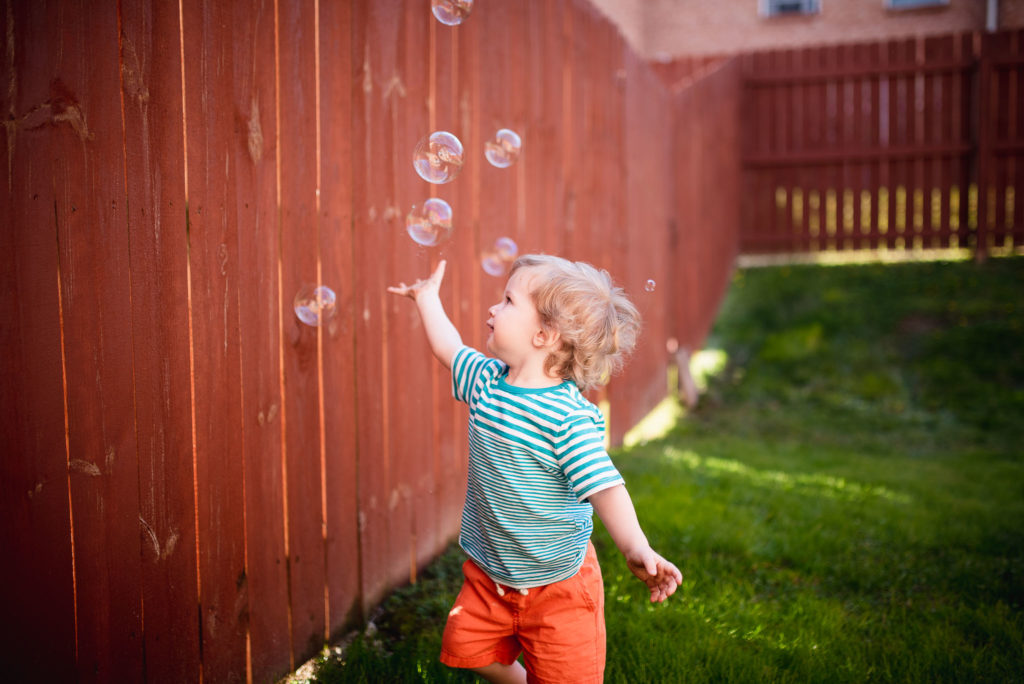
Sure, bubble wands might be fun for the kids to use, but if you want the photos to be filled to the brim with bubbles, you’ll need a bubble machine for the best results!
Not only that, but you will need to get yourself some QUALITY bubbles to use in your bubble machine.
I’ve been a photographer and Mom long enough to know that most bubbles on the market are cheap and ineffective. So, you could make your own bubble solution (which I highly recommend – here’s a great recipe & tutorial) or know which solution to buy in the stores.
The only bubble solution that I have found to stand up against the elements of nature and kids running around are these. Just take it from me and don’t waste your money on anything else.
This photo wouldn’t be quite the same without the bubble machine pumping out a lot of bubbles at a time. This bubble machine that was used for these photos is small, portable, and super affordable. Plus, it produces great results!
The best locations for a bubble photo session
Choosing the best location for your photos should be thought ahead of time for a few reasons.
First and foremost is lighting.
If you have a great location, but terrible lighting, then your photos won’t turn out as perfectly as they could. Light should always be a deciding factor when it comes to any type of photo session, but even moreso with bubbles.
You want the lighting to allow the bubbles to stand out from the background so that it’s easily the main focus of the photos
Secondly, you want to make sure the location allows ample room for the bubbles to float about without getting popped too early.
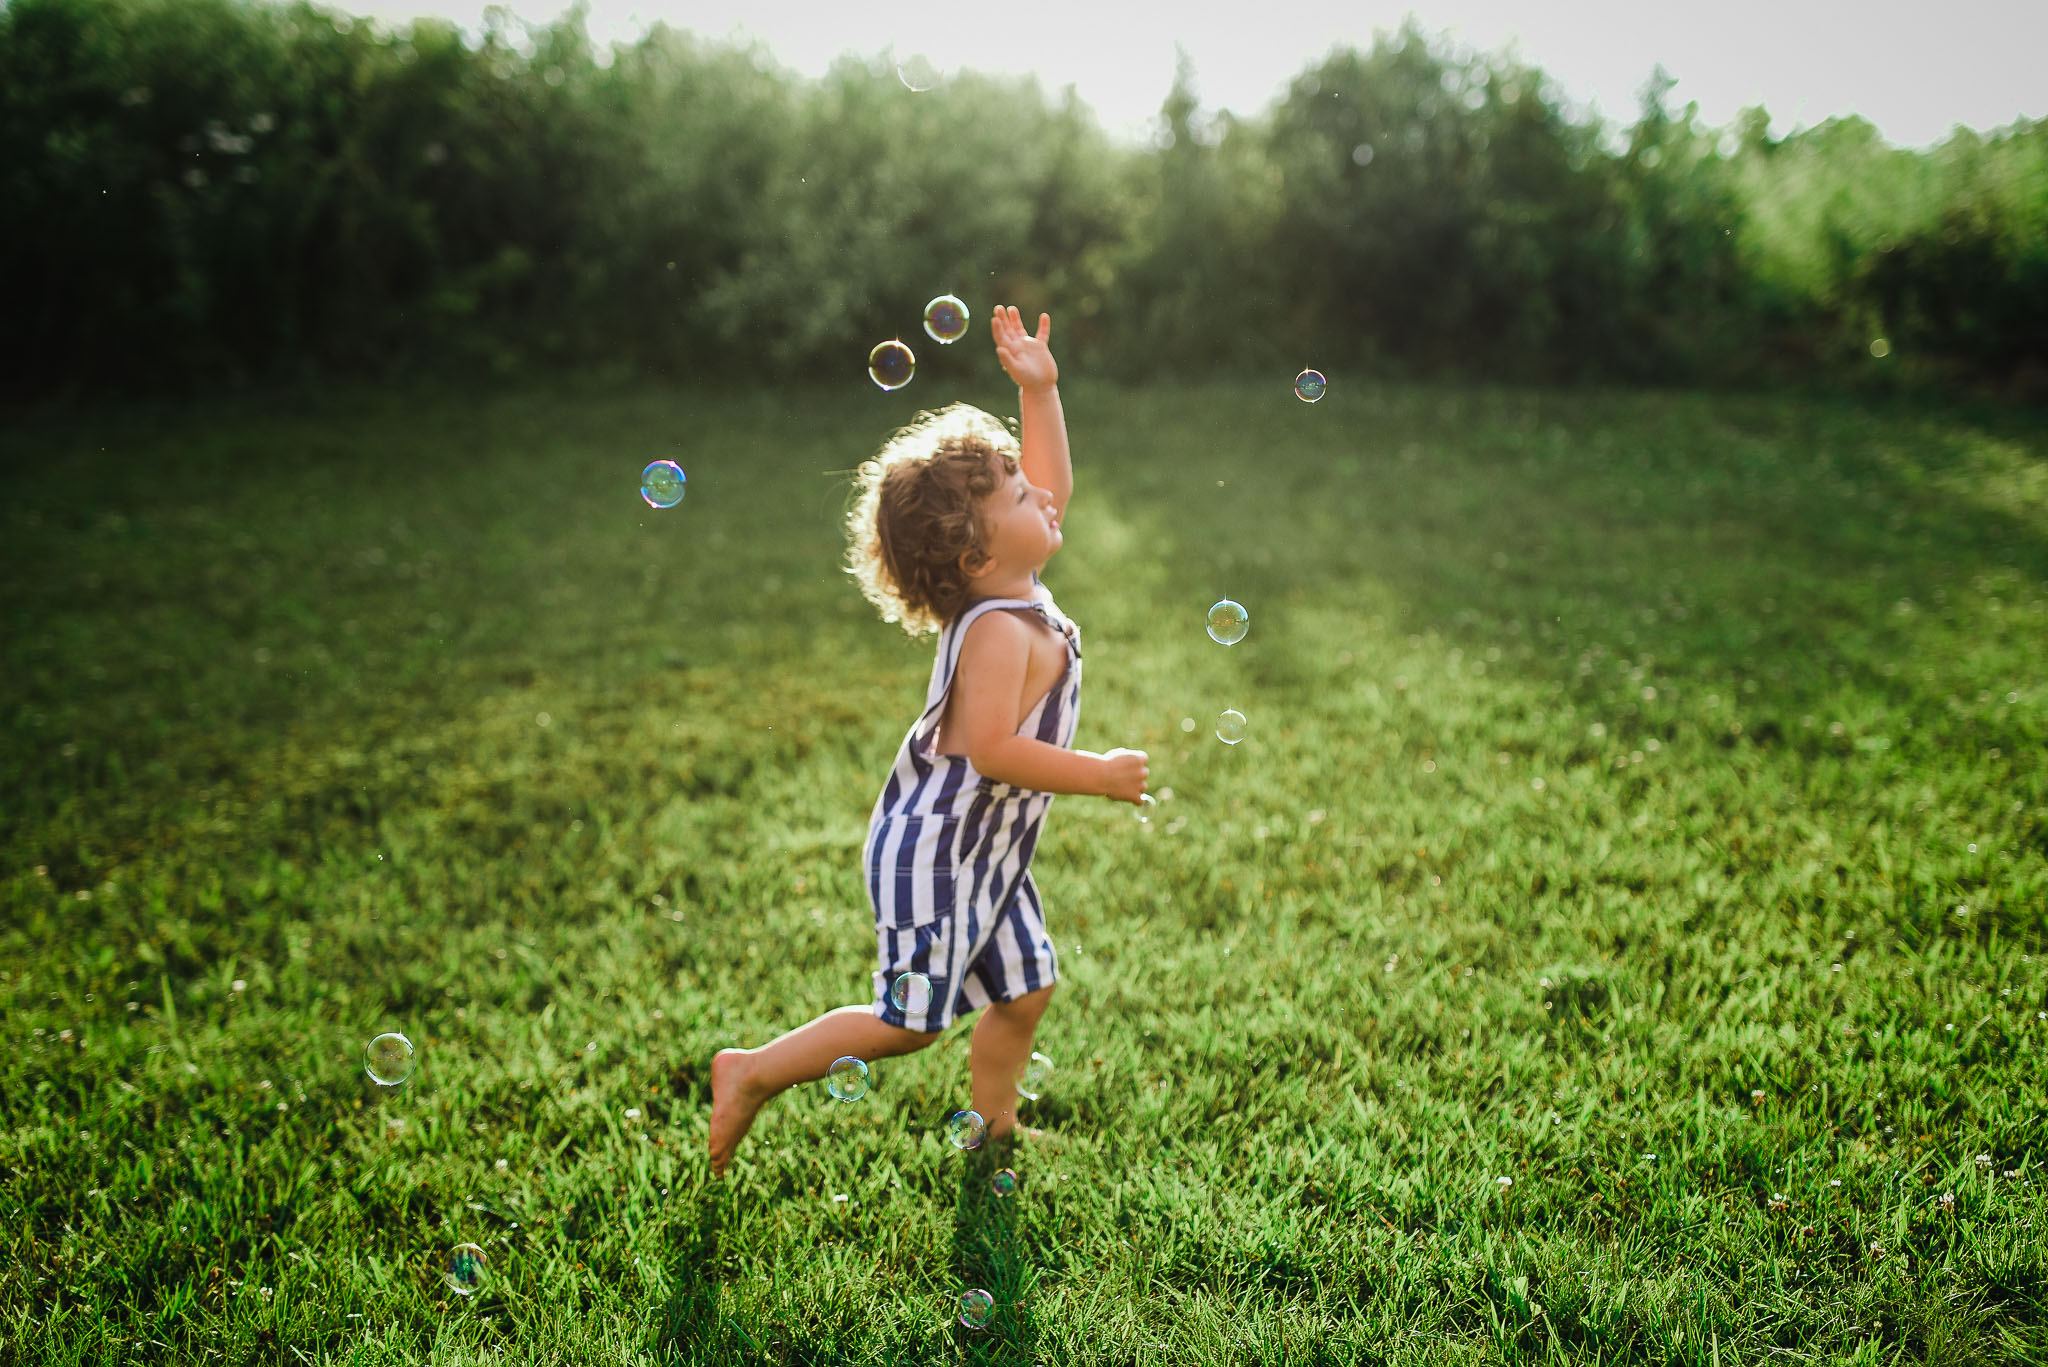
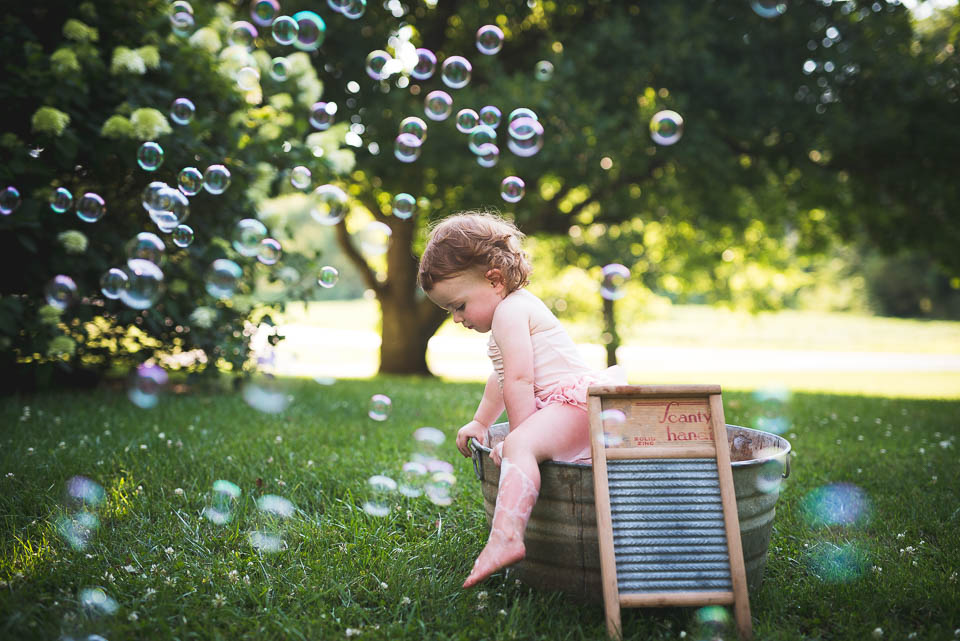
Ideally, a large field or open area with low lighting would give a nice glow AND room for the bubbles (and your subject of course) to be the main focus of the photos.

In this instance, the open grassy yard around sunset makes this location great because it’s simplicity. Coupled with the light leaking through, it illuminates the subject and the bubbles to create a stunning photo.
Read Next: How to choose the best photo shoot location
Best camera settings for bubble pictures with moving kids
If you want to take the best bubble photos with kids, then knowing your camera settings will be what matters the most.
Wiggly kids need fast cameras (and lenses) to capture the motion without the end result being blurry.
Here are my personal steps when it comes to choosing the best manual camera settings for moving kids:
- Assess the light first and set the ISO. If it’s bright and sunny, then I know to choose a low ISO such as 100 or 200. If it’s golden hour, I might be choosing ISO 400 or higher to compensate for the lower light – it all depends on the amount of light at the specific location.
- Next I want to make sure that I choose a high enough shutter speed for fast-moving subjects. Normally, a shutter speed of 1/200 or higher will be plenty enough to capture both the bubbles and kids moving.
- Then, I adjust the aperture, shutter speed, and ISO to make sure it’s right for what I am going for. I typically try to choose an aperture wide open to allow for light and a more blurry background, so I set my aperture around f2 for bubble photos. Anything wider might make the photos too soft or blurry when trying to focus on a subject that is moving a lot.
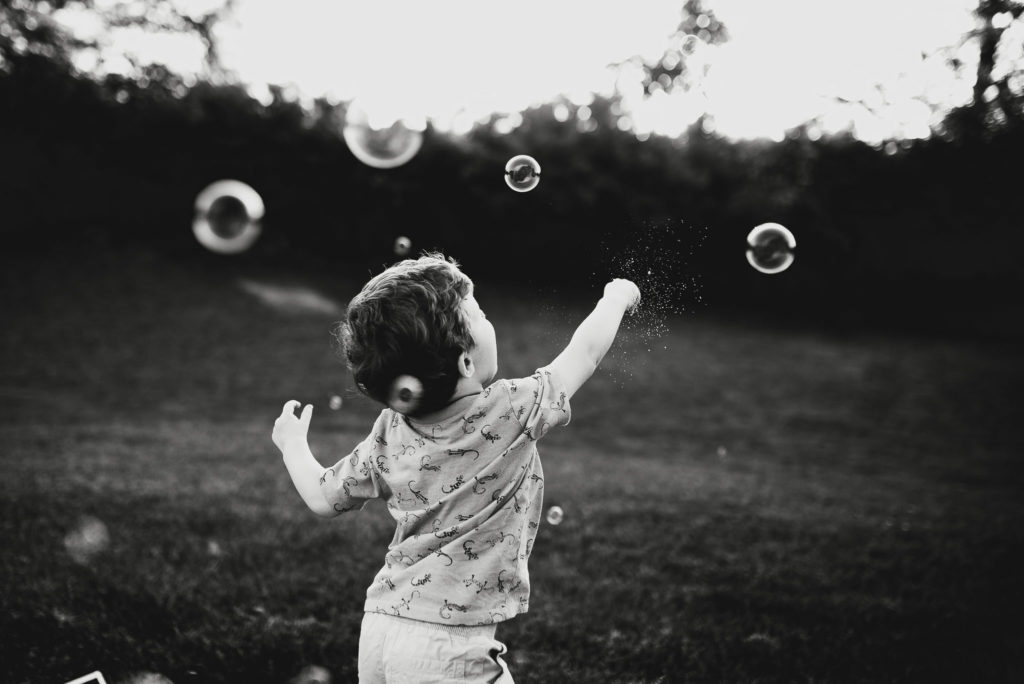
For this photo, I set my shutter speed high enough to catch the bubble being popped mid-air without blurring. ISO 320, 35mm, f1.4, 1/2000
Read Next: How to take amazing photos of wiggly toddlers that run from the camera
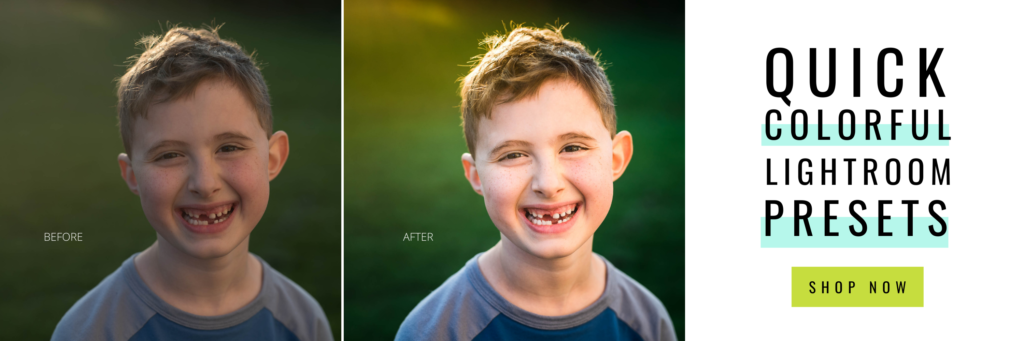
Bring out the bubble magic with editing
Now that you know what to look for with locations, lighting, and camera settings, you’re ready to get started!
Bubble photos are magical just on their own, but they can certainly be enhanced with editing too.
My favorite type of photo editing?
The kind that looks amazing and doesn’t take much time! Being a busy Mom of 5, I don’t have much time to edit, so I choose to use a simplified Lightroom workflow that takes me less than a minute to edit a single photo.
Then, I use Lightroom presets and batch editing to speed up the process even more.
But, just because it’s fast doesn’t mean it’s bad editing. You can still make your photos look amazing and edit like a professional even if it only takes you a few steps.
Here’s a simple way to edit bubble photos (or any kind of backlit photo) in Lightroom:
Useful Lightroom shortcuts to know:
Adjustment Brush: B
Brush size: mouse wheel
Brush feather: Shift + mouse wheel
Show/hide mask overlay: O
Switch between brushes A and B: /
Eraser: Paint while holding the Alt key (Option on Mac); you can press the Alt key and use the mouse wheel (incl. with Shift) to modify the size and feather of the brush.
Undo last brush stroke: Ctrl + Z (Cmd + Z on Mac)
Want to take your Lightroom skills to the next level the EASY way???
Editing with ease is a complete learning experience that will teach you how to to edit in less time so that you can focus on other things in your life.
Or just grab one of my preset collections to instantly transform your photos into something that you love!
If you enjoyed this post, you might also like:
Take better portraits & learn how to get creamy skin tones.
Learn how to get blurry backgrounds in your images.
Keep these tips in mind to help you edit like a pro.
RAW Vs. JPEG, what’s the big deal with RAW photos?


be the first to comment