Taking great photos of your kids by the Christmas tree can be a super fun memory but an equal challenge as a parent and photographer.
One of the most simple Christmas traditions that you can start as a parent is by taking Christmas tree photos with your little ones.
After all, you spent all of this time and preparation putting up your Christmas tree and decorating it, why not seal the moment by taking some photos to savor it?
Taking tree photos might seem fairly straight forward, but it’s anything but.
Taking Christmas tree photos of kids with evenly lit skin tones and perfectly blurred out Christmas lights in the background does require some strategy and careful attention.
But when you know the right settings and light to look for, then taking Christmas tree photos can be fun and easy!
Let’s go over how to EASILY take Christmas tree photos with kids.
Get your tree and space ready for photos
This should be a given, but when you’re working with kids (especially wiggly toddlers), having your scene setup and ready to go is a MUST.
This way, you can simply add in the kids at the very end to take the photos.
If you need to move furniture, do it. If the place needs tidied, then tidy. Basically, make sure everything is setup and ready to go before you get the kids involved in the process (this will help things run much smoother).
Look for the natural light first
If you want your photos taken during the daylight hours so that they take on a more candid feel, then scout out the best natural light in the room.
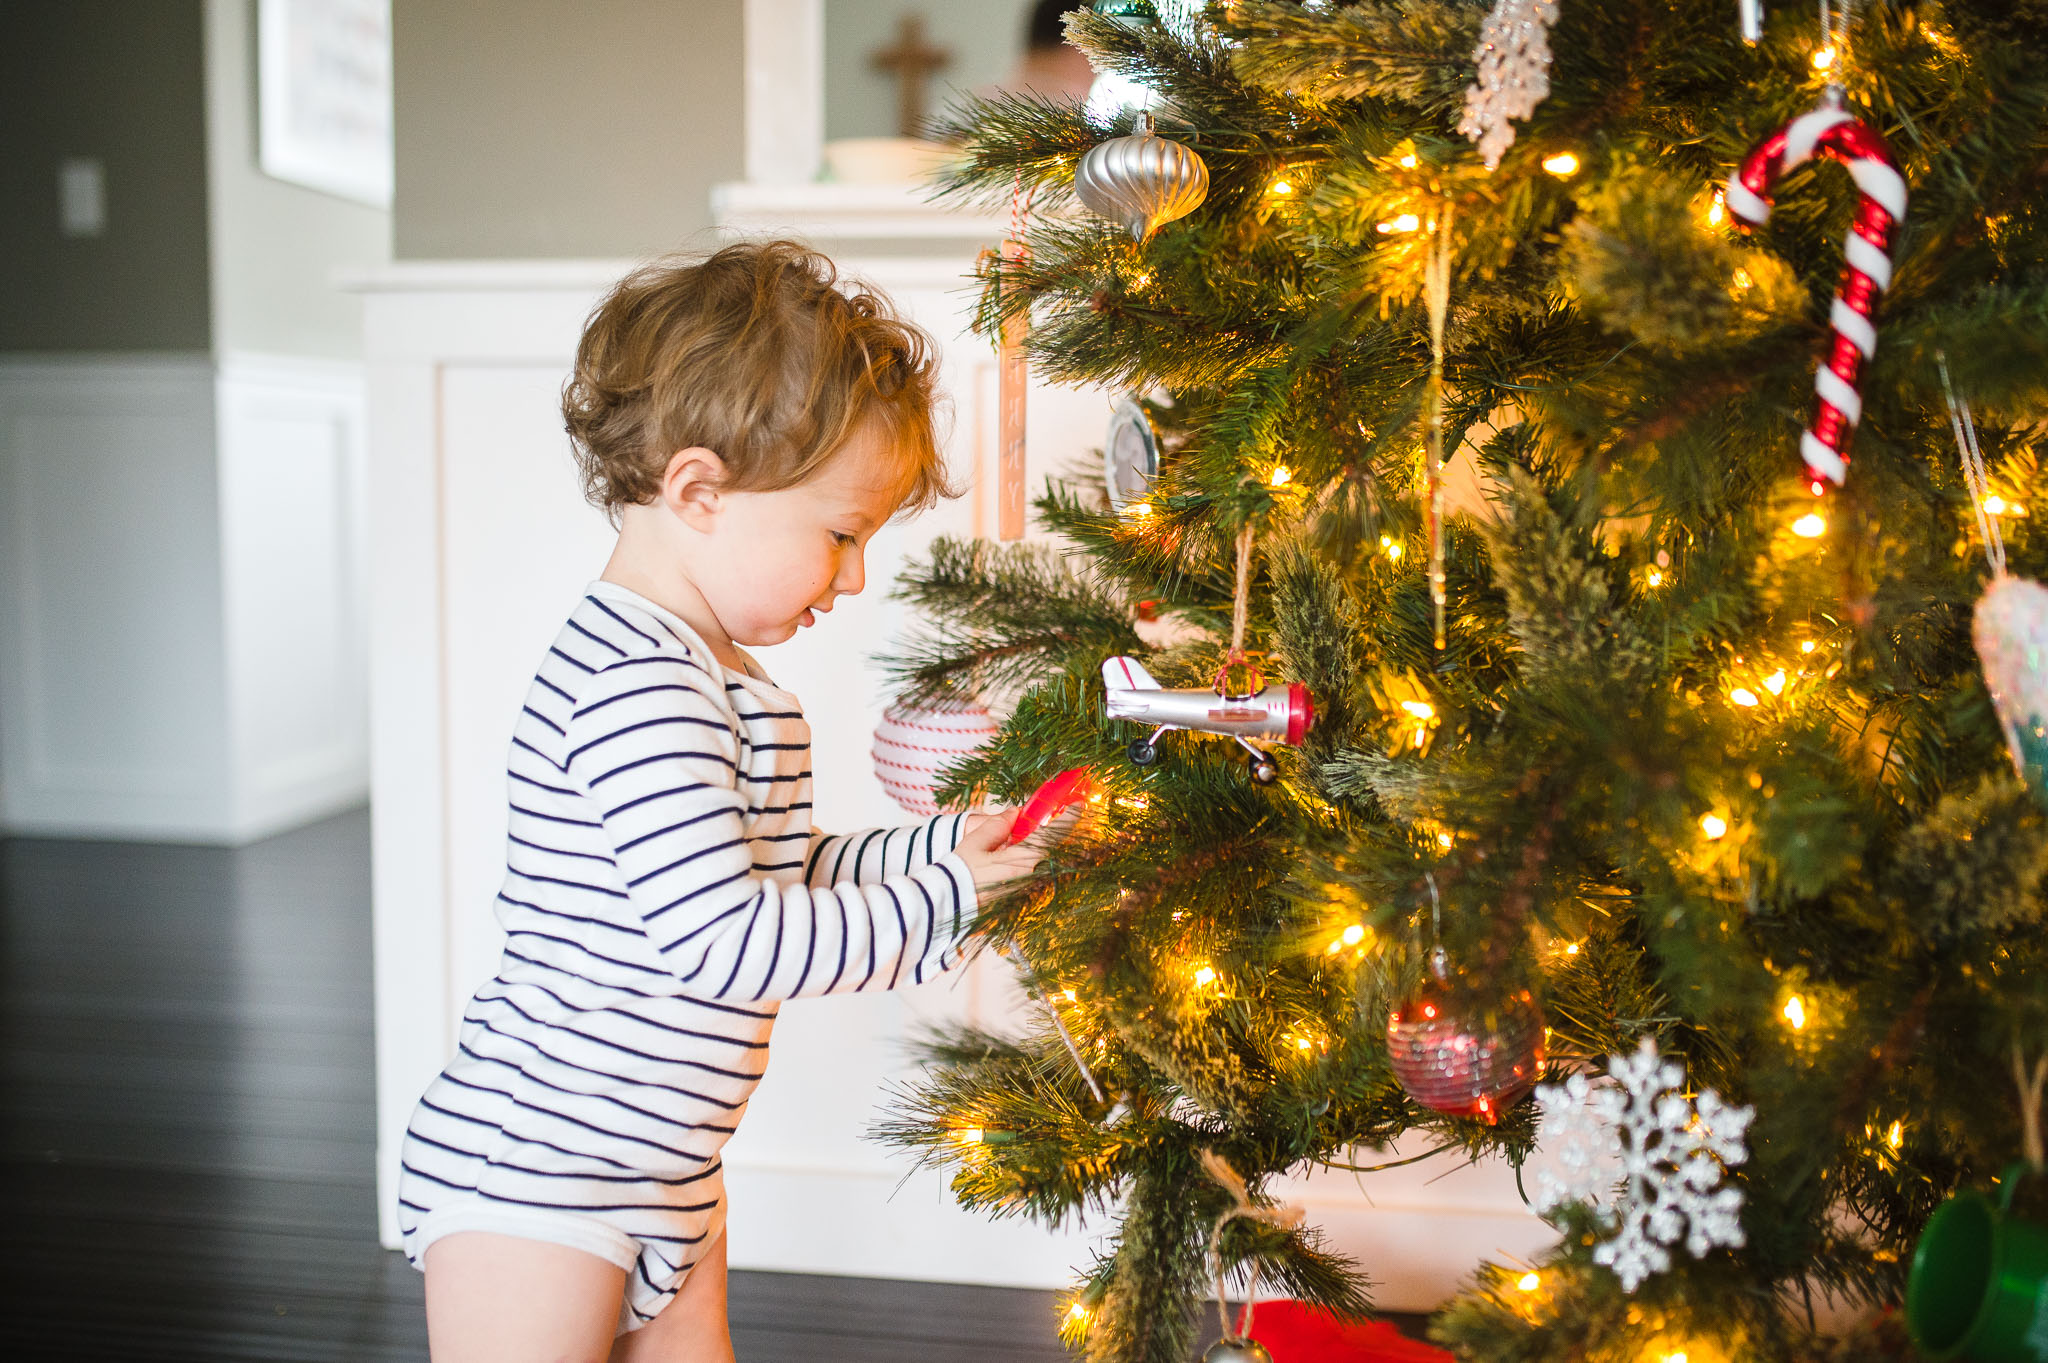
For instance, the natural light from the window directly in front of my subject helped illuminate his face and provide a more smooth skin tone.
READ NEXT: How to get creamy skin tones in your photos
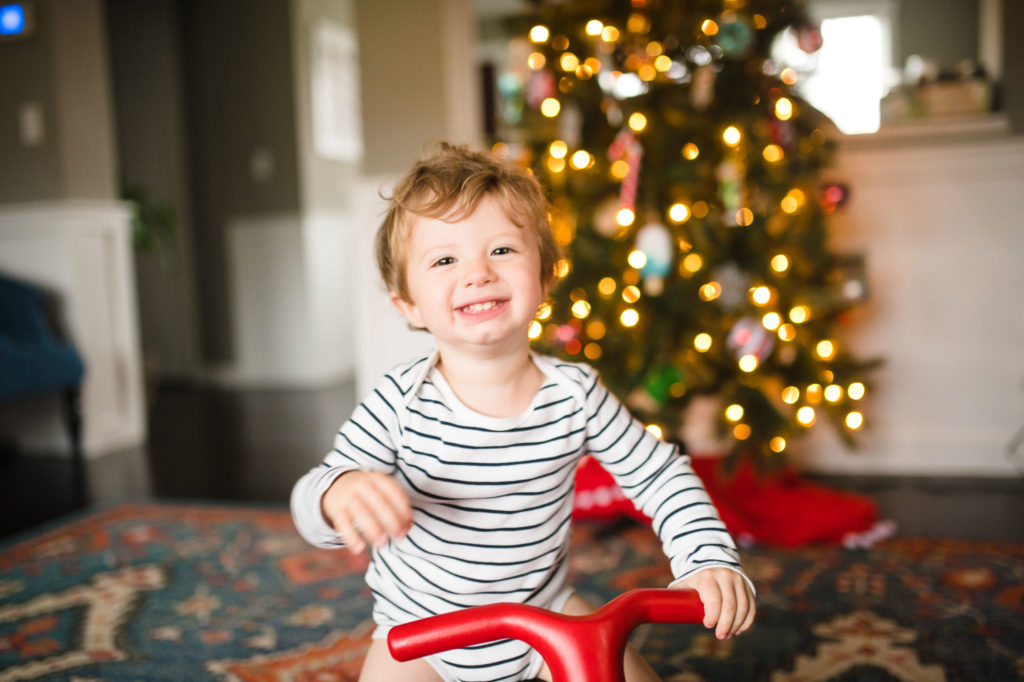
Camera settings: ISO 1250, 35mm, f 1.8, 1/125.
Because of the window that was across the Christmas tree on the opposite side of the room, I was able to take these photos during the day to get both great bokeh from the lights and also nice, even lighting on the skin.
Of course this is more of a lifestyle/candid type of Christmas tree photo, but it really captures the essence of childhood Christmas fun!
Back your subject away from the tree
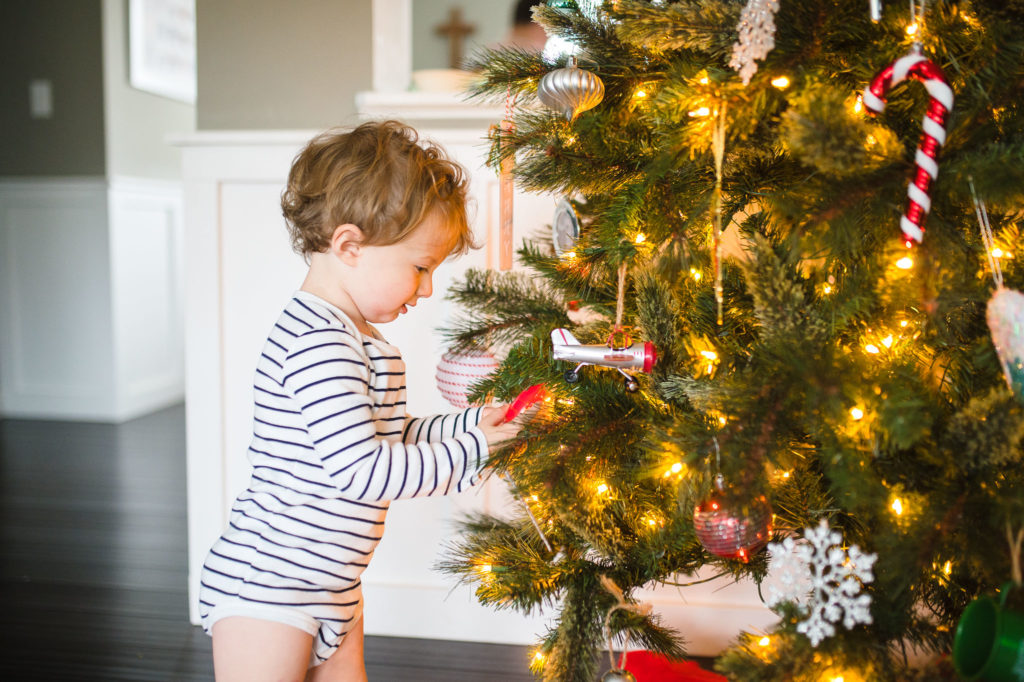
The further from the tree, the more bokeh (blur) that you will get from the lights. The closer that your camera is to the tree, the less blurred they will be – hey, that rhymed.
As you can see from this series of photos, the blur of the lights change depending on how far away my subject is to the tree.
Encourage wiggly kids to stay put with props
Whether it be a chair, a stool, or in my case a riding toy, using props will come in clutch if you have little ones that like to run around.
Getting young ones to stay still long enough to capture some photos will be your biggest obstacle at this point, so it’s helpful to plan ahead and think of ways to entertain them.
The key here is to keep their attention on something they are interested in so that you get the chance to snap a few clicks before they are off to something else.
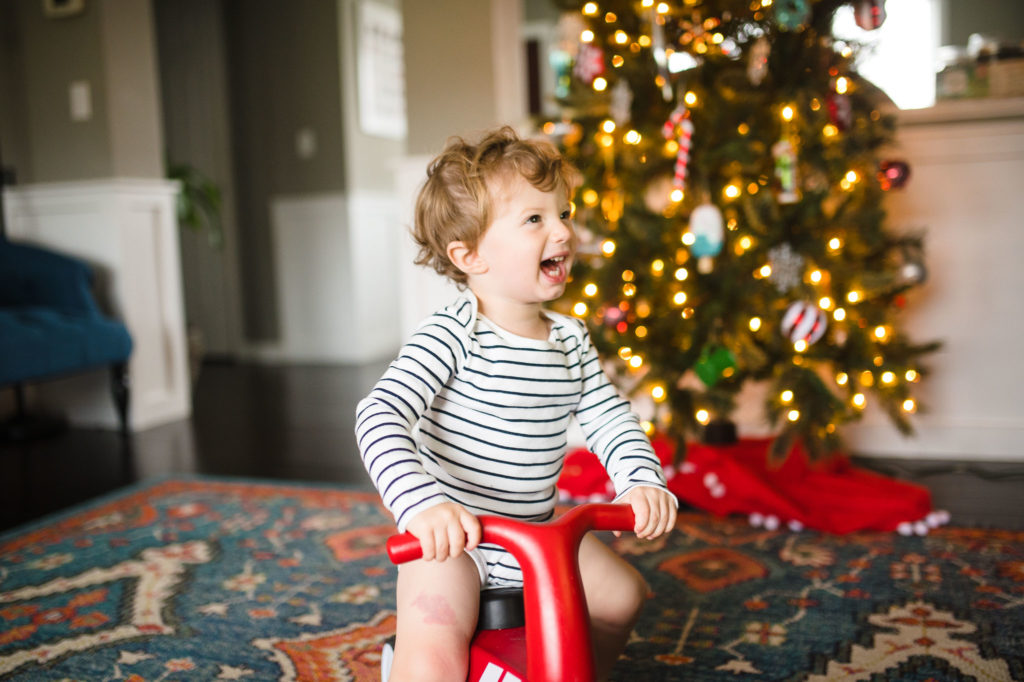
I personally chose a riding toy for these photos as I had a very active and wiggly toddler.
The TV was also on so I was able to divert his attention and take snaps as he was laughing to his favorite show.
Choose your camera settings
Depending on your natural lighting situation and the time of day, your settings will be different than mine.
The important thing to keep in mind is your ISO to get that great blur of the lights and also your shutter speed to capture wiggly children around the tree.
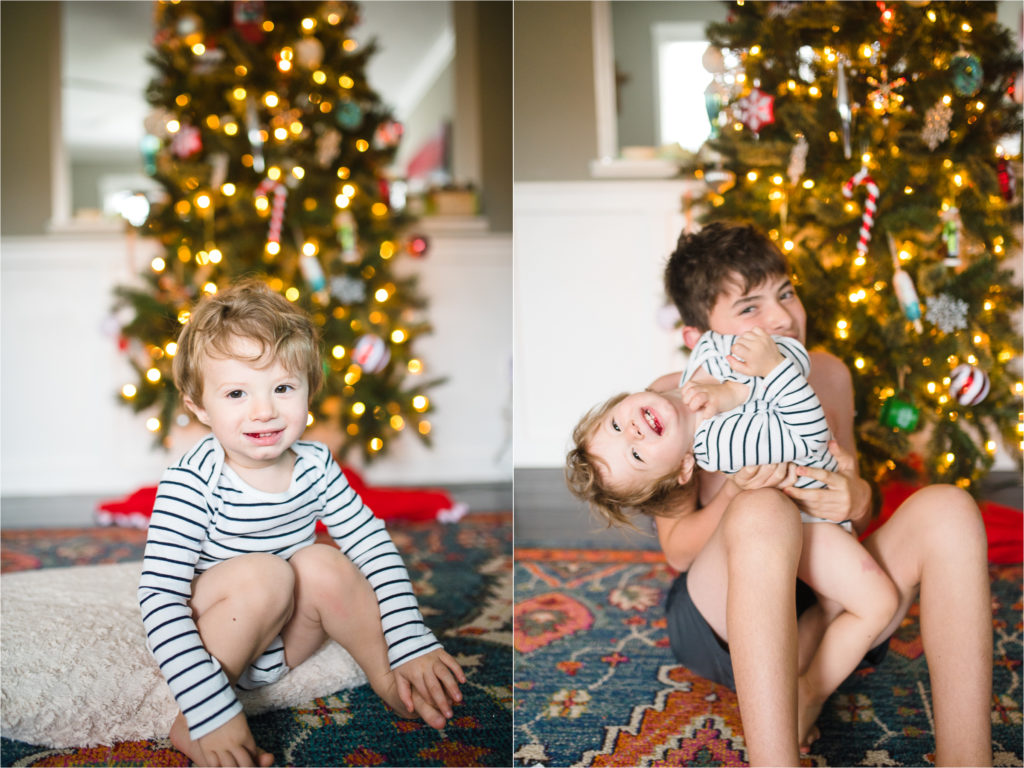
In this case – because there was a lot of natural light available and that I wanted to blur the lights – I set my ISO to 800 and made sure that my shutter speed was fast enough to capture movement. In this case, the shutter speed was 1/125 at f 1.8
The higher your ISO, the more bokeh you will get with tree lights, especially when you’re using artificial light.
So now that you understand how to take Christmas tree photos in natural light, let’s go over some helpful tips for night time photos.
Here’s a few helpful tips to keep in mind when you are taking photos of kids in front of the tree at night.
String extra lights
You will get much better results if you have more lights on your tree, so buy an extra box (or 2 or 3, depending on the size) and get to work. Having more lights will create more beautiful results with more ambient light available to illuminate your subjects.
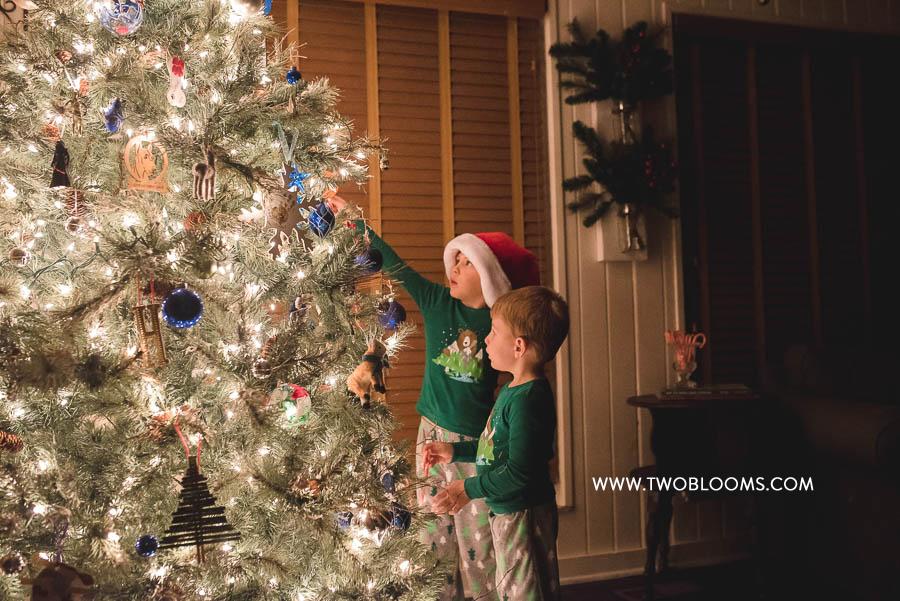
Crank that ISO
Yes, the inevitable high ISO in low-light conditions. Yes, you might get some grain in case you were wondering, but you will also get amazing results. The photos being displayed were taken at ISO 12800, f2.2, 1/125
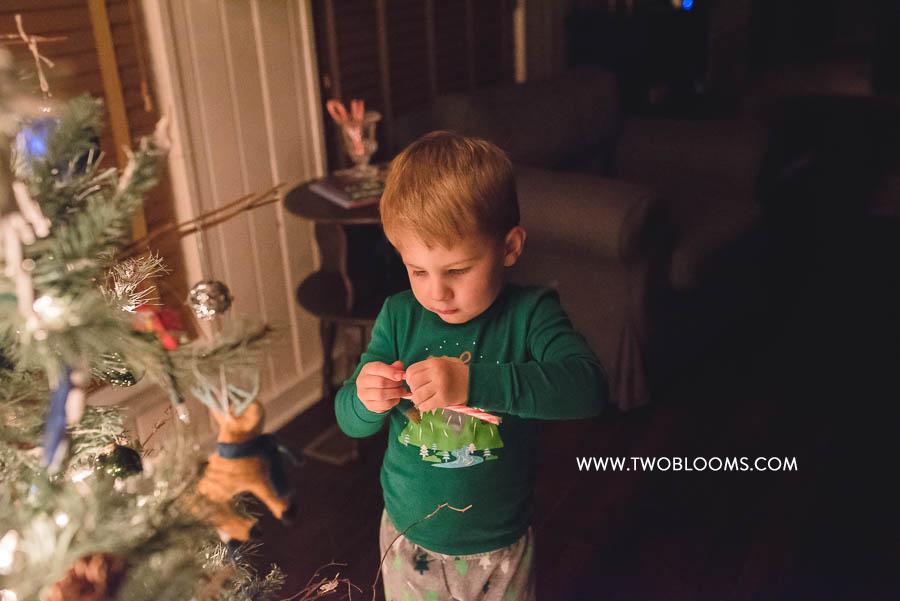
Embrace the Mood
With the ambient light glowing and the kids gathered around the tree, allow the mood to overpower your photos.
Embrace the grain, the shadows, and the glow of the tree to create an impactful photo. This is great for storytelling & lifestyle photography!
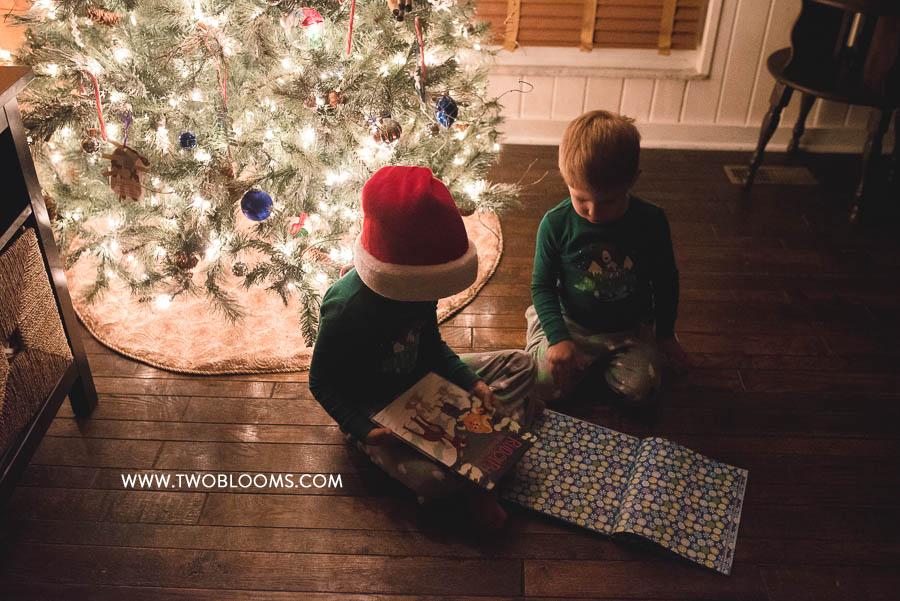
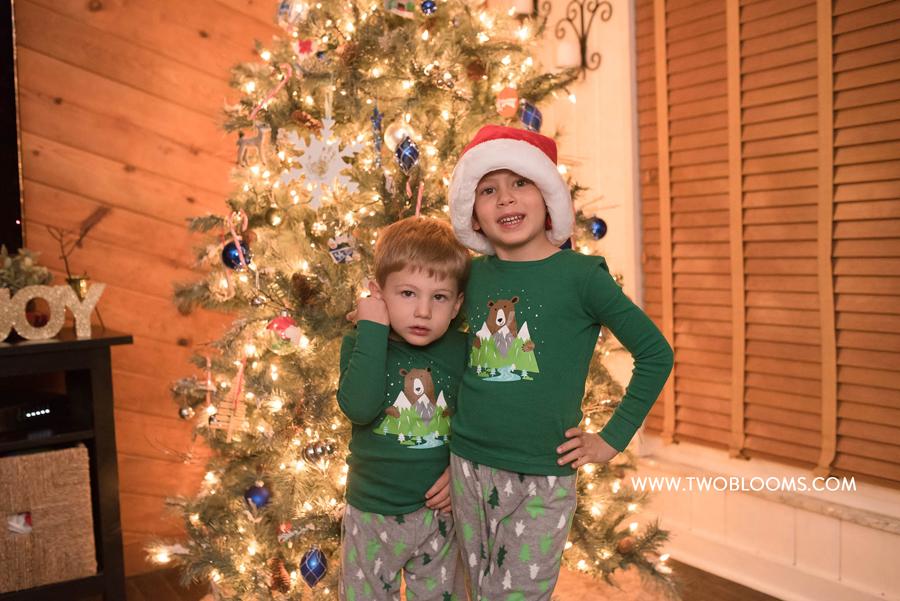
Use flash for a more formal setup
Using the ambient light from the tree to create mood and emotion is all well and good if you are a lifestyle photographer or wanting to snap a few documentary shots of the kids, but what about taking a more formal photo?
Enter your flash unit.
By attaching my speedlight to my camera, changing my ISO to 4000, and bouncing the light off the back wall, I was able to create more glowing light without the moody shadows.
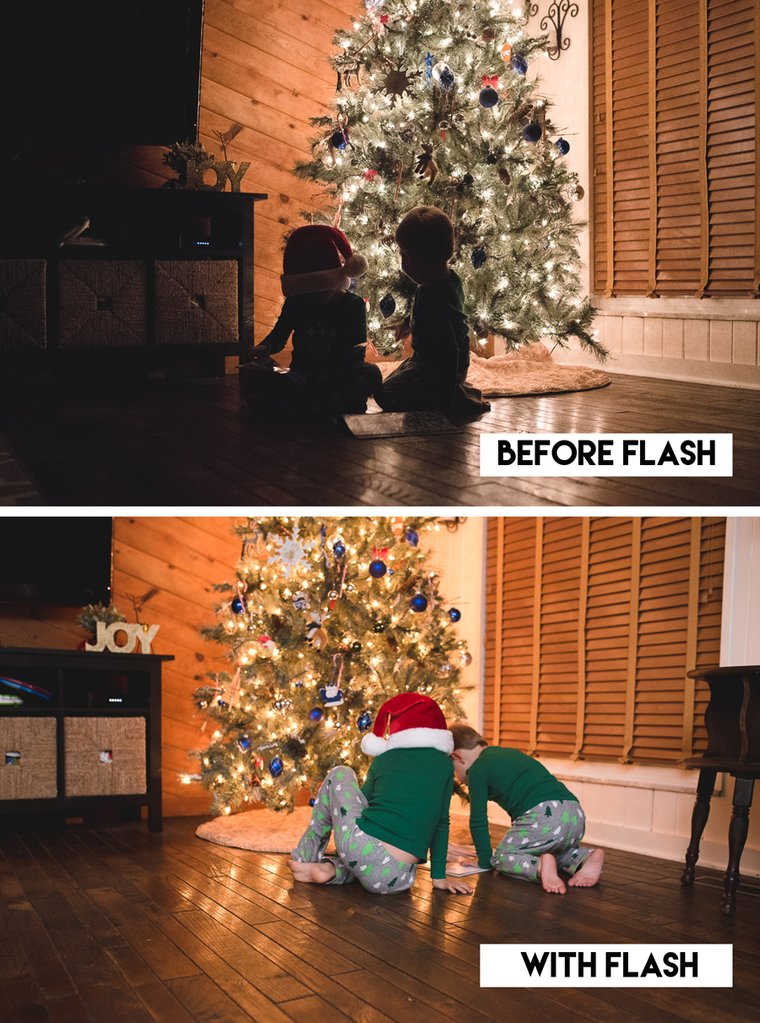
If you want to keep the warm glow of the tree prominent in your photos, shoot at an ISO of at least 800. From there, you can play around to see what camera settings suits you best for the environment you’re in.
By turning down my ISO to 4000 and bouncing flash off the back wall, my subjects’ faces were evenly exposed, making it for a more optimal for formal photos.
This is a handy & essential tool to use when you have lots of wiggly kids or just need more light.
If you enjoyed this post, you might also like:
Take better portraits & learn how to get creamy skin tones.
Take the BEST DIY family photos with these helpful tips.
Learn how to get blurry backgrounds in your images.
Keep these tips in mind to help you edit like a pro.
RAW Vs. JPEG, what’s the big deal with RAW photos?
be the first to comment