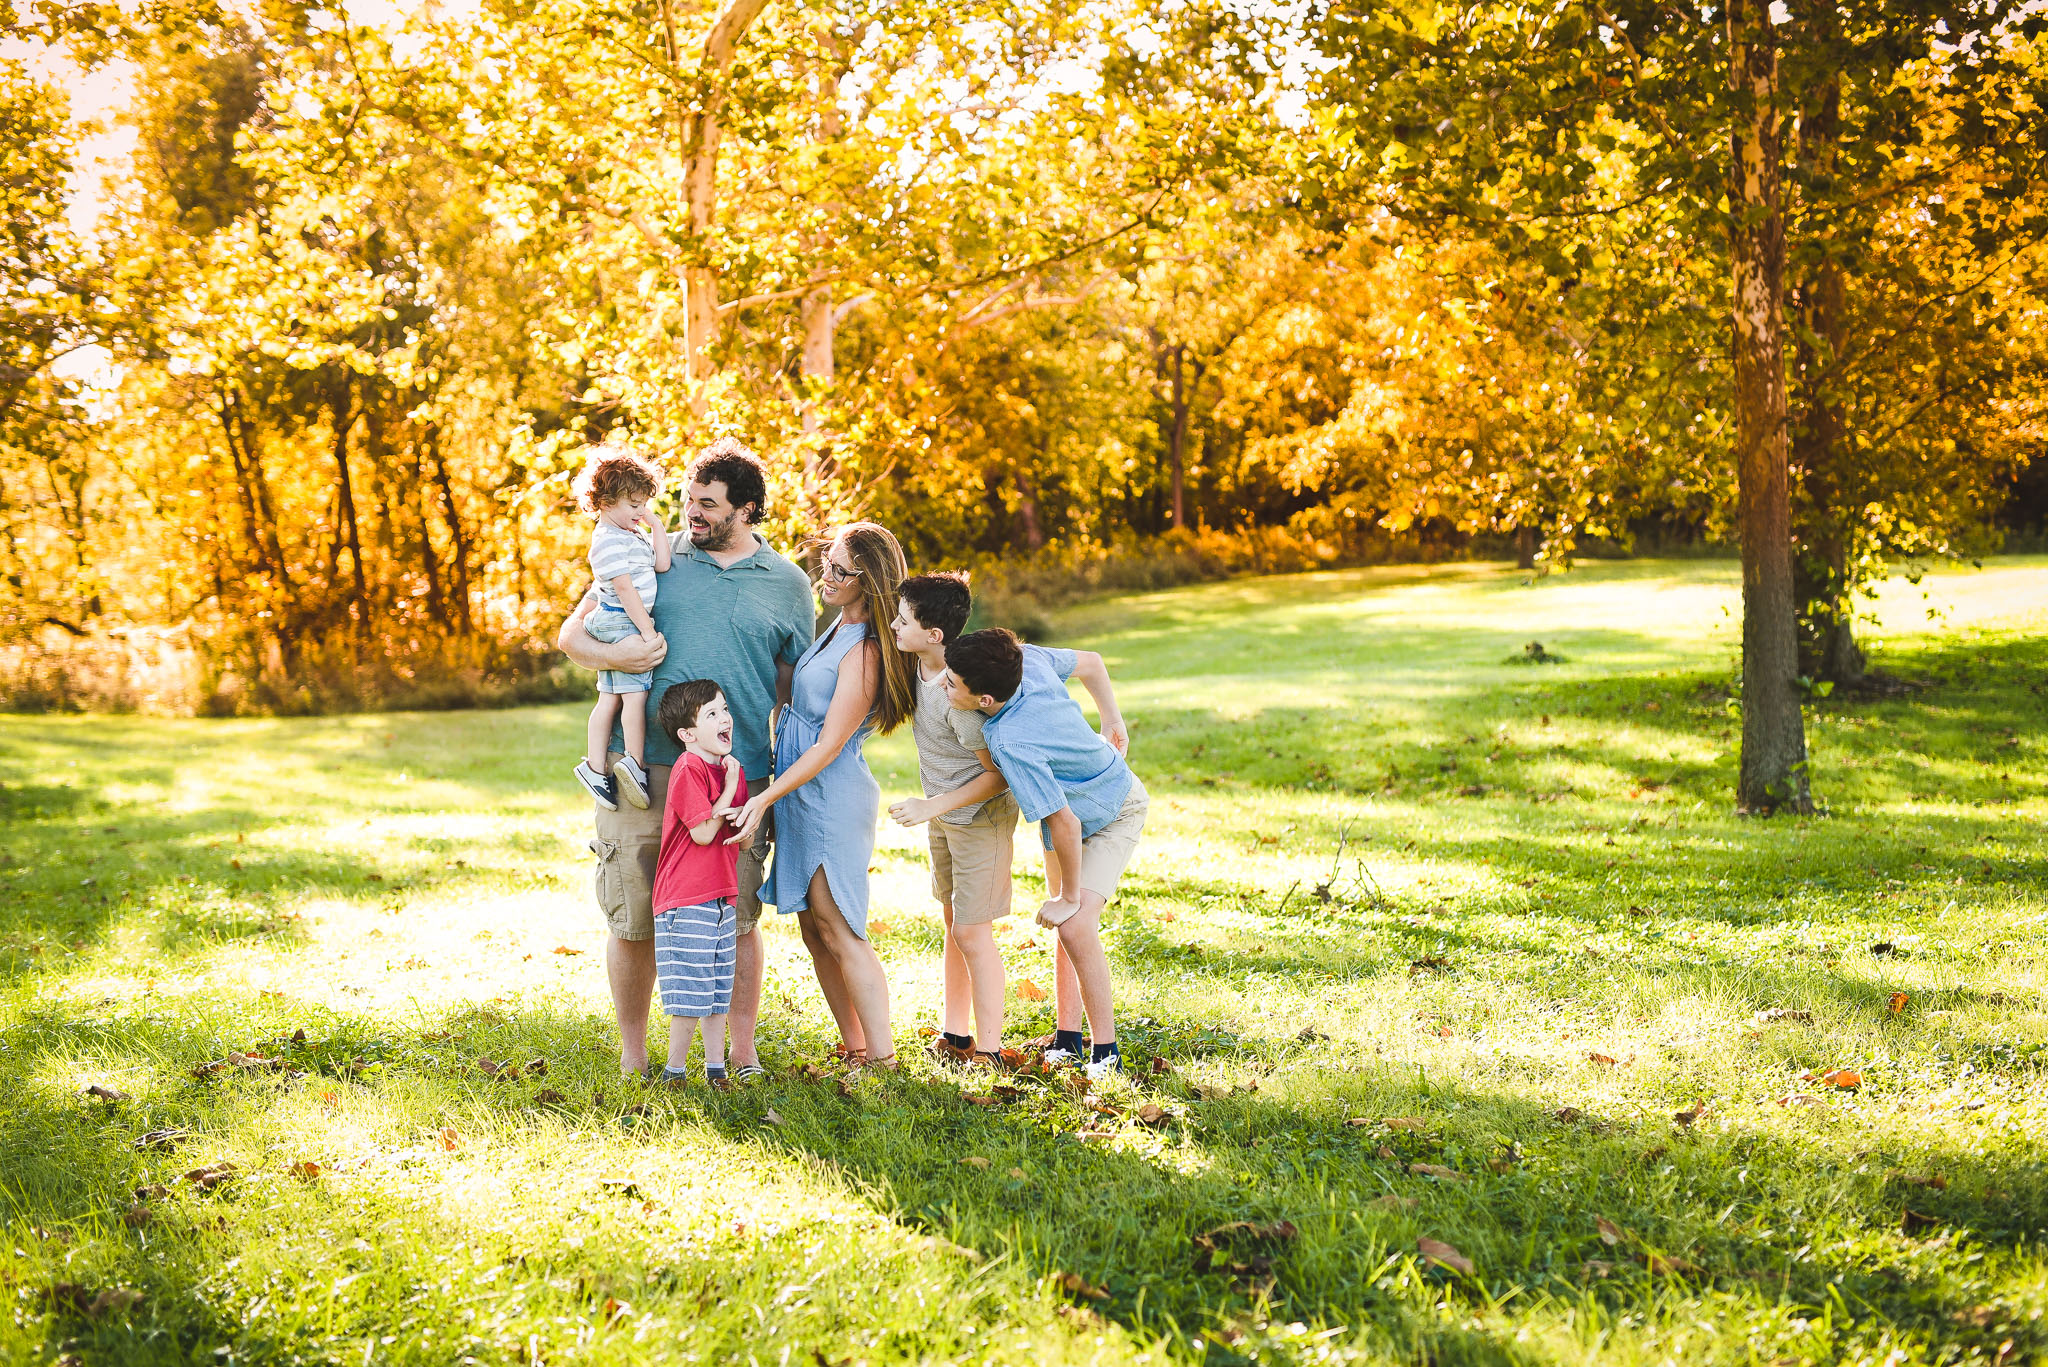
It’s fall outside, but the trees didn’t get the memo.
Your clients show up to their photo sessions in their carefully curated fall outfits, yet all of the foliage is still screaming summer. YIKES.
Now they are talking about a re-shoot (ahem…on your wallet). Talk about awkward.
So, what’s a photographer to do?
Can you really make summer trees look like fall with a little bit of editing?
Yes, you can.
It’s EASY to add fall colors to your outdoor photos, even when it doesn’t look like Autumn outside.
In this Lightroom tutorial, I am going to show you a few simple & quick tricks to help you edit better, faster, and add lots of beautiful fall tones to your photos.
ARVE Error: src mismatchurl: https://www.youtube.com/watch?v=qPSw9HYp_6w&t=13s
src in: https://www.youtube-nocookie.com/embed/qPSw9HYp_6w?start=13&feature=oembed
src gen: https://www.youtube-nocookie.com/embed/qPSw9HYp_6wActual comparison
url: https://www.youtube.com/watch?v=qPSw9HYp_6w&t=13s
src in: https://www.youtube-nocookie.com/embed/qPSw9HYp_6w?start=13
src gen: https://www.youtube-nocookie.com/embed/qPSw9HYp_6w
How fun is this little Lightroom trick?!
Now you don’t have to worry about re-shoots and throwing a huge wrench in your fall calendar – you can simply just tweak the colors of your photos in Lightroom!
Want your photos to stand out even more? Grab the presets demoed in this tutorial here.
If you enjoyed this post, you might also like:
4 ways to get a blurry background in your photos
Photo editing tips for beginners
Moody portraits: 4 ways to easily take them indoors
Top 5 Lightroom Editing Styles you can easily replicate (with before & afters)

be the first to comment